Thursday, May 22, 2014

There's one in every crowd....

Niti did a beautiful job here, close up below.


by Yours truly. 
We tried to keep the background very vibrant with more subtle hues on the coat of our zebras.

Deeya's Zebra

Iha's zebra
Everyone liked Nidhie's zebra painting so much that we all had to do one too.  But, as you can see below:
Someone had to be different.  She did a great giraffe painting that maybe the rest of the class will all want to copy next time.  :)
Savanni's giraffe.

Monday, May 12, 2014

While the rest of us were painting the Eiffel Tower (below) Nidhie was working on this painting of a study of Alicia VanNoy's art entitled "Zebra - End of the Rainbow". She's done a beautiful job. Good work Nidhie!

Eiffel Tower at Sunset, or is it sunrise?


This class painting began with a simple skyscape for the background and simple brushstrokes for our representation of a city behind the Eiffel Tower which was painstakingly drawn with chalk outlines and then painted with thinned black acrylic paint, or sharpie marker as in our last example.

Monday, March 24, 2014

Recent Class Paintings

 We even have one of our moms joining in on this class the last couple of weeks.  We were learning backgrounds and abstract, symbolic art here.  Below is the finished painting, by Archana.

Geetika's bunnies.  She didn't like her first attempt and so she painted over the old and started all over.  You can do that with acrylics and oils, but not with watercolors.  I love how easy acrylic paints are to work with.

Savony's bunnies in a basket. She worked hard on these and also spent some time repainting over her colors to get the color she wanted.  Our rabbit paintings took a couple of weeks.

Wolf howling at the moon and a flock of birds. 

Wednesday, February 5, 2014

The Finished Pears


Three of my students finished their pear paintings.  One to go to be added next week.  They all did an awesome job didn't they?

Thursday, January 23, 2014

More than a pair of pears...

We are beginning a painting of a pear with a completely red "ground", also called the underpainting.
We used chalk to draw our pears and mark the tables edge. The chalk goes away as you paint, giving you a guide line without  pencil marks that can show through even when you paint over it.

Sachin's paintings

Sachin painted this scene in acrylic paints on two canvases and gave it a surreal look by dripping paints down the edge.
Acrylic on canvas
This puppy has the cutest face and those big eyes are so happy.

Thursday, April 4, 2013

Easy Stained Glass Windows

We made stained glass windows today with construction paper, colorful tissue paper, and clear contact paper.  No mess, no fuss.  Without glue we saved a lot of headache and clean up was easy too!! 

We made our initials, hearts, flowers and whatever else came to mind.

Let the sunshine in!

How To:  1. We folded a piece of construction paper in half.  Cut out your shape, like a circle or heart.  Then cut it out again inside your circle or doggie bone, so that you have an outlined shape.  See photos above.  2.We cut strips of black to insert into the design (if wanted) like in the leaf and 3 petal flower.

3.  Now start ripping or cutting the different colors of tissue paper until you have a nice pile to pick from.  4. Measure a piece of contact paper to fit your design, peel off the paper and place on the table sticky side up, carefully lay the shape you have created on the contact paper starting at one end until it lays flat.  Cut away all of the unwanted contact paper.  It should only have the sticky side on the inside of your shape.  5.Now start randomly placing bits and pieces of the tissue paper on the sticky surface, trying not to get the same color right next to itself.  See examples.

When you are finished you can tape them in the windows of your bedroom, or anywhere.

Wednesday, May 23, 2012

We began this 2 day project with a pencil drawing of a tree lined street with a house on it.  Then painted it in with the colors of our choosing.  I left my finished painting in the classroom.  oops....
Exceptionally well done. 
This was a difficult project, perspective is not easy to accomplish.  This one is well on it's way, just a little more painting is needed. 

I see there are birds in the sky and it looks like a brick roof.  Good job.

Bright colors, looks very inviting.  Nice job on the trees too.

Good placement of each element.  Good job everyone.

One of my students finished this one from last time.  Very nice.  The look like ornaments strung together.
Group photo!  We started the sunset painting by dribbling crimson, vermillion, and yellow down a wet sheet of watercolor paper with a landscape orientation to the paper, so that when we turned it to a portrait orientation, we could add trees, crosses, (or something spiky) so that it looked like a sunset.
Close up!!
This young lady wasn't in the group photo.  But, you get a close up look at the other painting we did that day.  A stylized tree with a bird, birdhouse, (this one even has a bat), and leaves.
She even draws outside of class.  I hope you all do,  I'll put your drawings on the Fridge too, just like this one, if you'll let me take a photo of it.  Lovely ladies.

Here is a close up of the class project explained above.

Sunday, April 29, 2012

Gradation Exercise - Going from dark to light.

Today we learned about gradation.  At the bottom of this post you can see an example of testing the different strengths of pressure you can put on your pencil to get gradations in your drawing.  More on that at the end....

Though she isn't finished yet I hope to get another photo when she is done to add to "the fridge" .  She was being very careful and doing a great job, although the sun was very bright and we are getting glare here.
The youngest in class had a good idea and I love how his picture looks.  Like balls linked together, the gradation really gives them shape.  This is a time consuming technique and making it easier for smaller hands is a good way to still get the lesson across.

 Very good job on the gradations, and she added eyes, hands and feet.  Giving them character in a cute way.  Lovey colors!!  You can even see her hand in their busily at work.
Good job!  I love the eyes on these characters and it looks like their tongues are sticking out too.  Very funny.  The cyclops on the end has a fang.  LOL

Here is mine.  Unfinished, but well on it's way to cuteness or maybe a little menacing with the teeth on two of those fish! Anyway, you get the idea.  Gradation gives shape and form to an otherwise flat surface.  Since this takes so much time, put your paper down when your hands get tired and pick it up again another day until it's all done.  You don't have to do it all in one swipe.

Here is an example of testing out what your pencil can do.  I started with pressing hard with my pencil, in black here but you can do this with all of your colors just to see what they can each do.  Pressing hard gives you saturated color.  I think it's always best to press lightly as much as possible because my hand gets so tired if I'm pressing hard all the time.  So for the rest of the exercise you use a light touch with your pencil.  Okay!  give it a try at home too.

Saturday, April 21, 2012

Line Drawings - Colored Pencils

 Well, for some reason, I can not get this photo to right itself.  It is saved in the proper orientation on my computer, but as you can see, it's sideways on my blog.  hmmm............
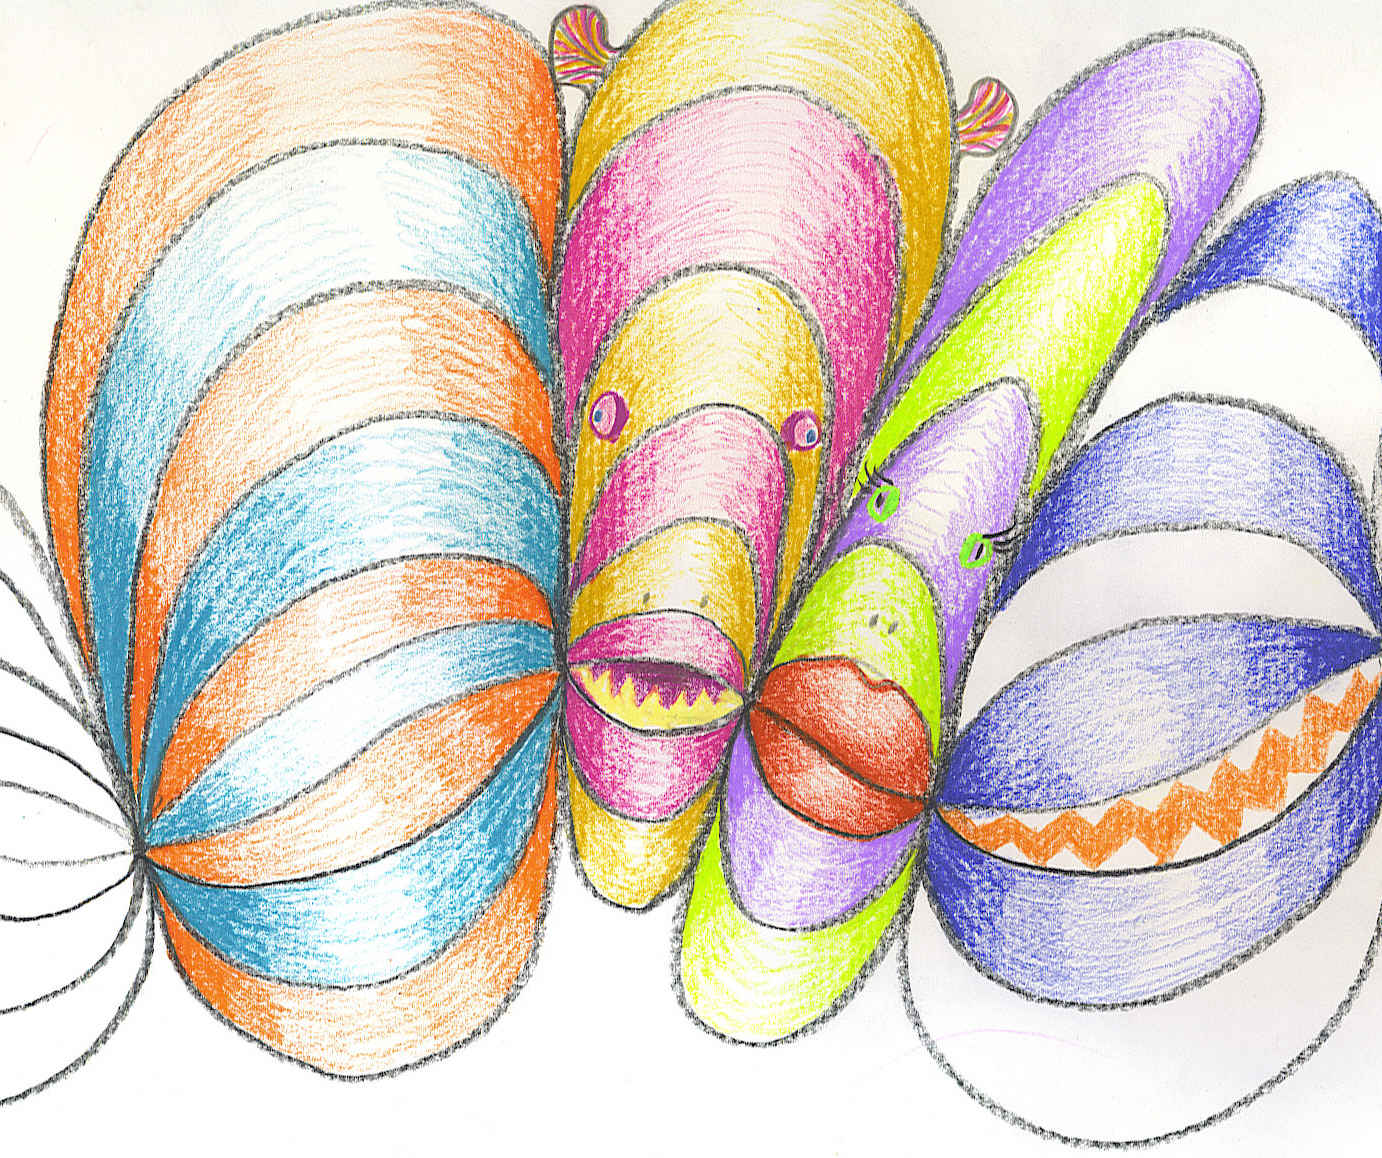
We were making line drawings today.  Van Gogh inspired.  Lots of colors next to each other in pencil, using just lines and this artist used some crosshatching lines too.  Very beautifully executed!!
Just wish you didn't have to turn your head sideways....
 Here we are with a sunset by this artist.  After she finished her drawing she went on to draw the pencils and her mom's car key.  Great use of your time and a good reminder to draw the things you see in everyday life that are all around you.  This will improve your skills more quickly than you can imagine.
 Our young artist here wanted a beautiful pink cloud in the sky and her windy swirls convey movement in the atmosphere very well.  Her hands were getting tired and so she will complete this another day.  That can happen if you hold your pencils too tight, or press down too hard.  
Relax as you draw, take your time, put your drawing down and pick it up later.  These are all good things to do if you're getting tired or discouraged.


 Love those rocks on the right,  you picked the perfect colors!!  Good job.
Another sideways pic.  But, that's okay!!  This artist added rain and some flowers on the hillside.  Very well done young man!  He even has lots of different yellows in the sun.  Makes it more interesting doesn't it?