Today we learned about gradation. At the bottom of this post you can see an example of testing the different strengths of pressure you can put on your pencil to get gradations in your drawing. More on that at the end....
Though she isn't finished yet I hope to get another photo when she is done to add to "the fridge" . She was being very careful and doing a great job, although the sun was very bright and we are getting glare here.
.JPG) |
| The youngest in class had a good idea and I love how his picture looks. Like balls linked together, the gradation really gives them shape. This is a time consuming technique and making it easier for smaller hands is a good way to still get the lesson across. |
Very good job on the gradations, and she added eyes, hands and feet. Giving them character in a cute way. Lovey colors!! You can even see her hand in their busily at work.
.JPG) |
| Good job! I love the eyes on these characters and it looks like their tongues are sticking out too. Very funny. The cyclops on the end has a fang. LOL |
 |
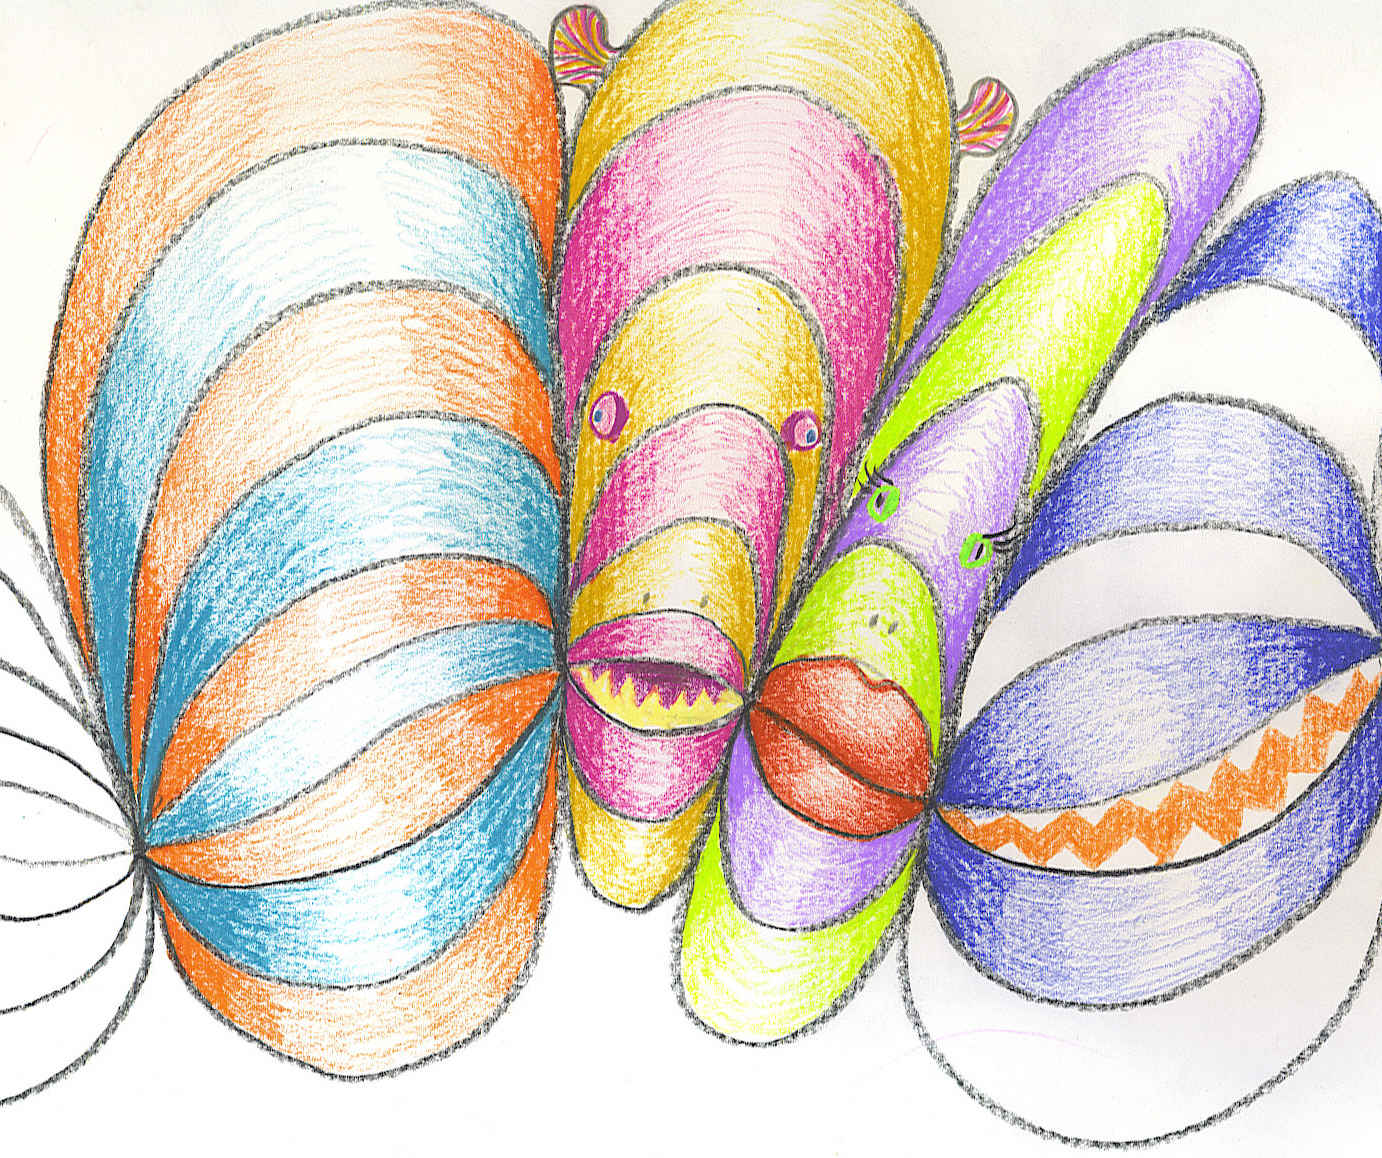
| Here is mine. Unfinished, but well on it's way to cuteness or maybe a little menacing with the teeth on two of those fish! Anyway, you get the idea. Gradation gives shape and form to an otherwise flat surface. Since this takes so much time, put your paper down when your hands get tired and pick it up again another day until it's all done. You don't have to do it all in one swipe. |
|
 |
| Here is an example of testing out what your pencil can do. I started
with pressing hard with my pencil, in black here but you can do this
with all of your colors just to see what they can each do. Pressing
hard gives you saturated color. I think it's always best to press lightly as much as possible because my hand gets so tired if I'm pressing hard all the time. So for the rest of the exercise you use a light touch with your pencil. Okay! give it a try at home too. |

.JPG)
.JPG)
.JPG)
.JPG)


No comments:
Post a Comment